 by
by Running an online store isn’t just about making the sale—it’s also about what happens after the checkout. That final moment, when a customer sees your Thank You page, is a big opportunity to leave a lasting impression.
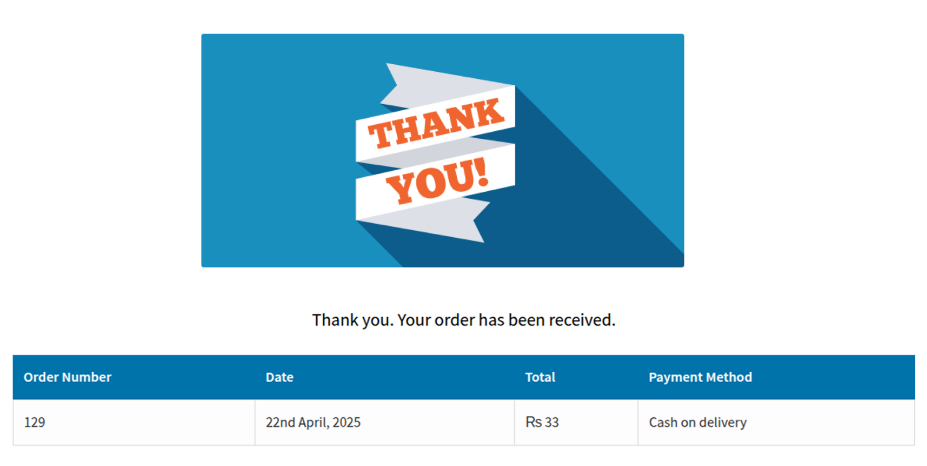
By default, WooCommerce gives customers a plain confirmation page. Although it does the job, it does not really do much more than that. For that you need the right moment to say something that is meaningful, something that is more personalized like a thank you, a suggestion that is helpful, or even a special offer based on what you just purchased.
That’s exactly what the WooCommerce Thank You Page Plugin by Extendons helps you do. It lets you create custom thank you pages that change based on the product or category purchased. And the best part? It is fairly easy to set up, and that is exactly what we will guide you with step by step.
Contents
Step 1: Install and Activate the Plugin
Before everything else, you have to make sure that the WooCommerce Thank You Page Plugin is up and running on your site. After that, you may notice that there is a new section embedded within your WooCommerce settings. From there, you can manage anything and everything related to your thank you pages.
Step 2: Go to the Thank You Page Settings
From your WordPress dashboard:
- Navigate to WooCommerce in the left-hand menu.
- Click on Thank You Page under the plugin section.
This is where you’ll manage all your custom thank you pages and create rules for when and how they’re shown.
Step 3: Add a New Thank You Page Rule
Click the option to Add New Thank You Page Rule.
Each rule lets you define a custom thank you page based on certain conditions. You can create rules based on:
- Specific products
- Product categories
- Payment methods
You’ll be able to give the rule a name, select the products or categories that will trigger it, and choose where the customer will be redirected after purchase.
The redirect can go to:
- A WordPress page
- A product or category page
- An external URL
Step 4: Create or Choose Your Custom Thank You Page
When it comes to the design of the thank you page, you can either create a new WordPress page or choose from an existing one. YOu can use that space to add a message which fits the customers activities and purchases. Here are some cool ideas too:
- A thank you message with the customer’s name
- Helpful information about using the product
- A coupon or discount for their next order
- Links to related products or categories
- Support contact info or FAQs
The plugin also supports shortcodes that let you show dynamic information like the customer’s name, order number, and item details—so every thank you page feels personalized and relevant.
Step 5: Set Rule Priority (Optional but Helpful)
If you’re creating multiple thank you page rules, it’s a good idea to set a priority for each one. This helps the plugin decide which rule to apply when an order qualifies for more than one.
For instance, if you have a rule for a product along with one for a broader category, you can assign priority to the product specific rule so it can take effect first!
Step 6: Enable and Save the Rule
Once everything looks good, enable the rule using the toggle or checkbox provided. Then click Save to make it live.
Now, when a customer buys a product or category tied to this rule, they’ll be redirected to your custom thank you page instead of the default WooCommerce one.
Step 7: Test It Out
It is always a good idea to run a quick test first before you actually go live.
- Place a test order using a product or category included in your new rule.
- Complete the checkout process.
- Make sure the thank you page redirects correctly.
If something doesn’t work, double-check the rule settings or make sure the page you selected is published and accessible.
Bonus Tip: Use a Global Thank You Page (Optional)
If you don’t want to create different pages for every product or category, the plugin also lets you set a Global Thank You Page for your entire store. This is perfect if you just want one consistent message for all customers, while still having the option to override it with specific rules later on.
Final Thoughts
Your store’s thank you page is not just a receipt so don’t underestimate it! The thank you page is a place where you can connect with your customers and leave a very lasting impression on them. A personalized WooCommerce thank you page helps you with not just order confirmation, it also adds much more value, builds trust with customers, and at the end, opens doors to future sales.
The WooCommerce Thank You Page Plugin by Extendons makes the entire process simple and flexible. Whether you want to redirect customers to a helpful guide, promote other products, or just say thank you in your own voice, this tool gives you the control to do it your way.
Ready to elevate your post-purchase experience? Start creating personalized thank you pages today and turn every order into an opportunity.